This site contains product affiliate links. We may receive a commission if you make a purchase after clicking on one of these links.
Welcome to Backyard Catapult! I am excited to be bringing our first published project to you and your family.
With Halloween around the corner, we find bats, monsters and pumpkins on the mind and in the décor. Today I am sharing a few of our recent upcycled craft projects for Spooky Season!
As homeschoolers, and simply parents of littles, crafts are a big part of our lives. Children are natural creators and artists, with an imagination that is limitless. We keep a large supply of random objects that would otherwise be discarded. Everything from paper rolls, bits of string, empty containers, the carrying handles of juice two packs to extra Allen wrenches and faux flowers. These land in our scrounge art boxes, alongside the standard craft supplies in the art closet.
Upcycling is fun, and an environmentally friendly way to express oneself. Let the little ones make these their own. Process is far more valuable that product for children.
- Oatmeal Container Monsters
Supplies:
Round Oatmeal or Similar Container
Paint
Construction Paper
Glue
Scissors
Paint pallette, old cupcake pan or bowls to hold paint
Paint brushes, cotton swabs or other applicators
Optional:
Yarn
Smocks
Drop cloth or Table cover
Scrounge Art Supplies
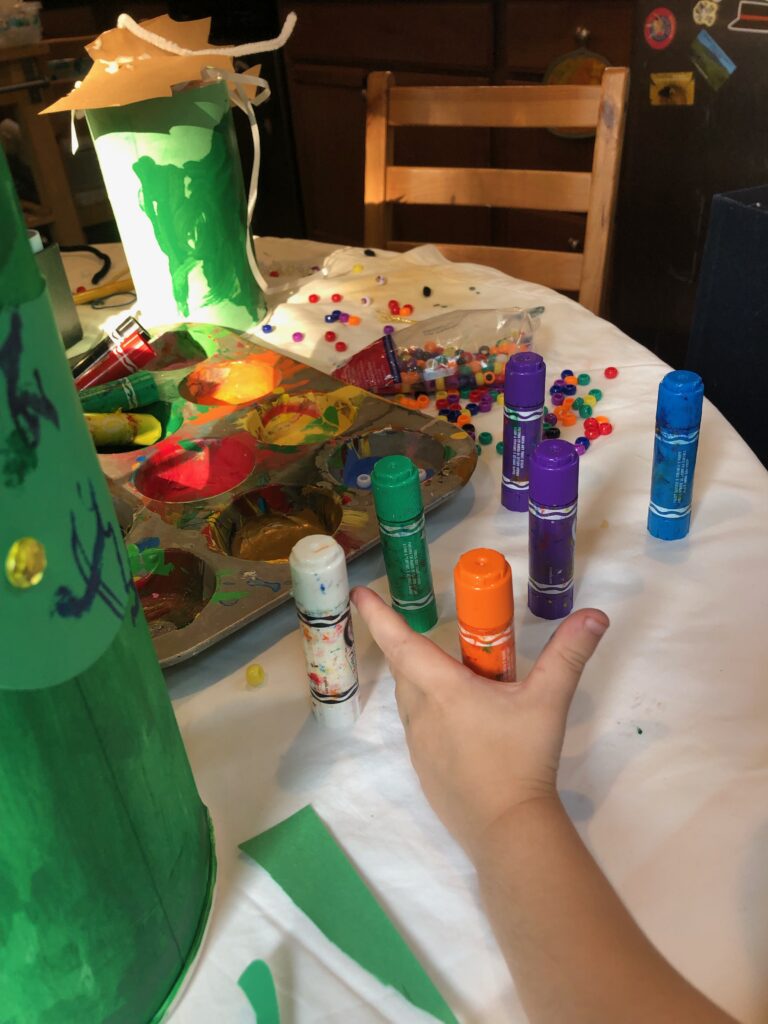
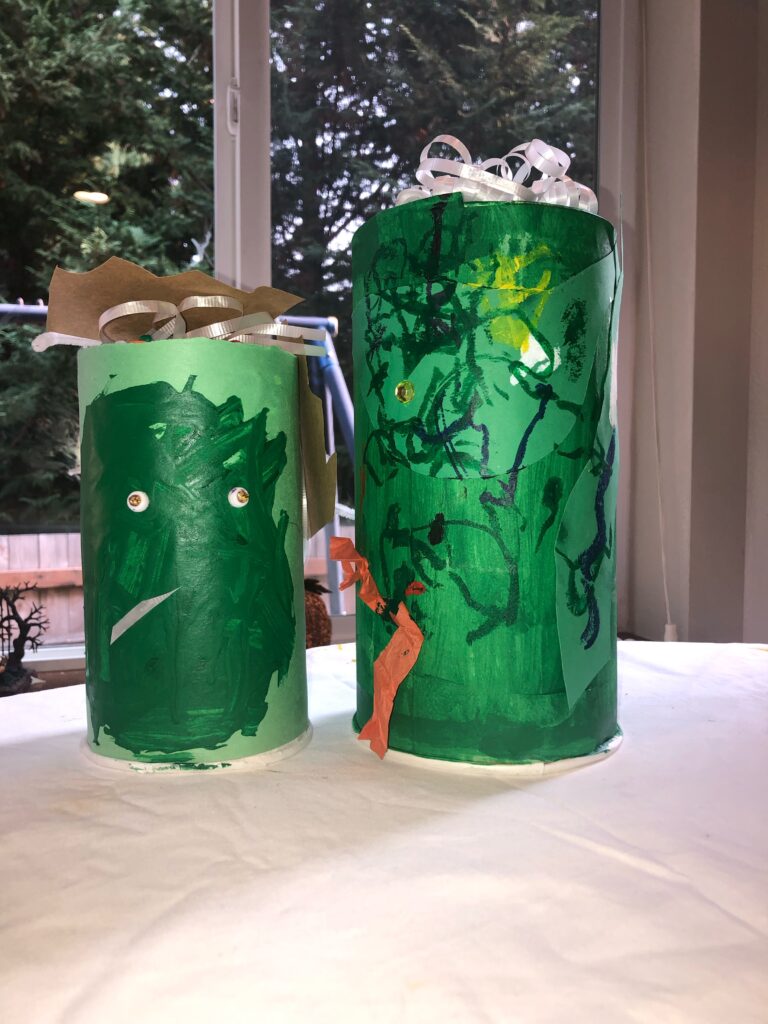
Make sure all the oatmeal is removed from the container. Turn over and tap to remove excess dust. We experimented and found that the acrylic paint was not covering the graphics on the container well enough so we chose to cover with green construction paper first. Cut the paper to the correct size and glue to the container. You may need more that one piece of paper depending on the size of the container. Next, either paint the construction paper with green paint (we use this acrylic paint) or start making your face. My kids preferred the painted look so we took the extra step of covering the paper with paint. Add the face and yarn for hair. Display!
- Clothespin Bats
Supplies:
Clothespins
Paper
Glue
Crayons, Markers or Paint, optional
Googly eye, optional
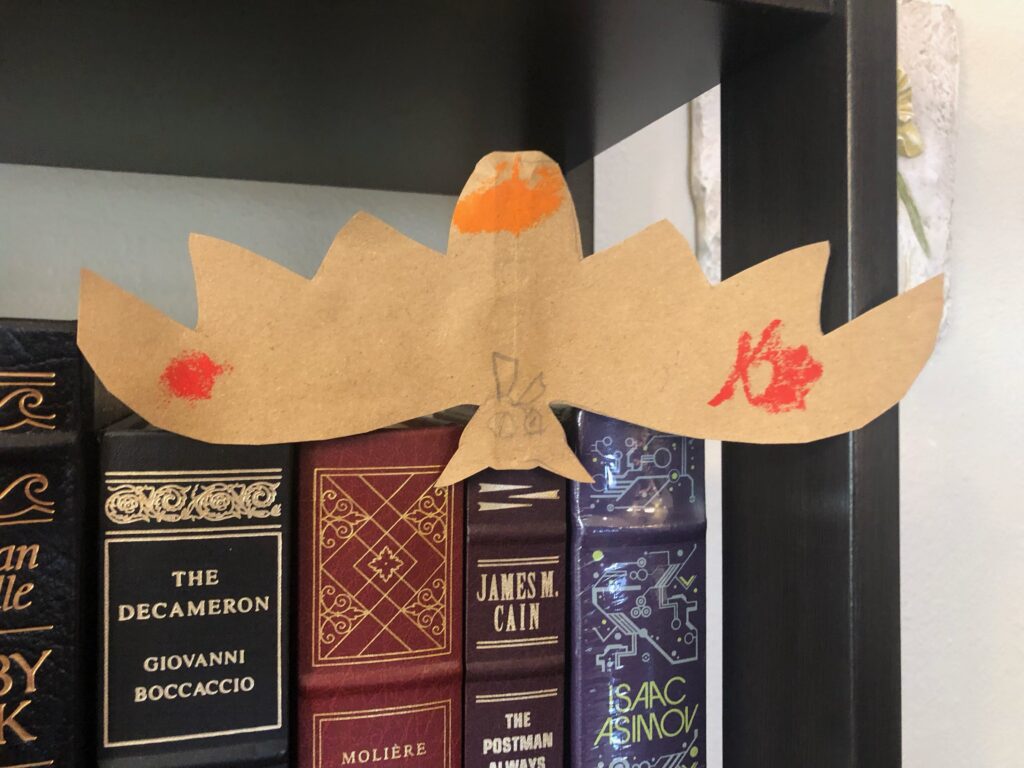
Fold a piece of paper in half and draw one half of a bat along the fold, or use this template: Clothespin Bat Template. Cut out and use as a guide for your bats. If old enough have the children make their own templates for bats, pumpkins, any sort of Halloween shape. Draw around the templates and cut out the bats. Decorate and add eyes, if you are using them. Glue the bats to the clothespins with the feet at the end that clips on. We did them the other way around…learn from our mistake. Once dry hang around the house.
- Berry Box Pumpkins
Supplies:
2 pint size cardboard berry boxes per pumpkin
Paint, markers, construction paper or color tissue paper
Glue
Popsicle Stick, optional
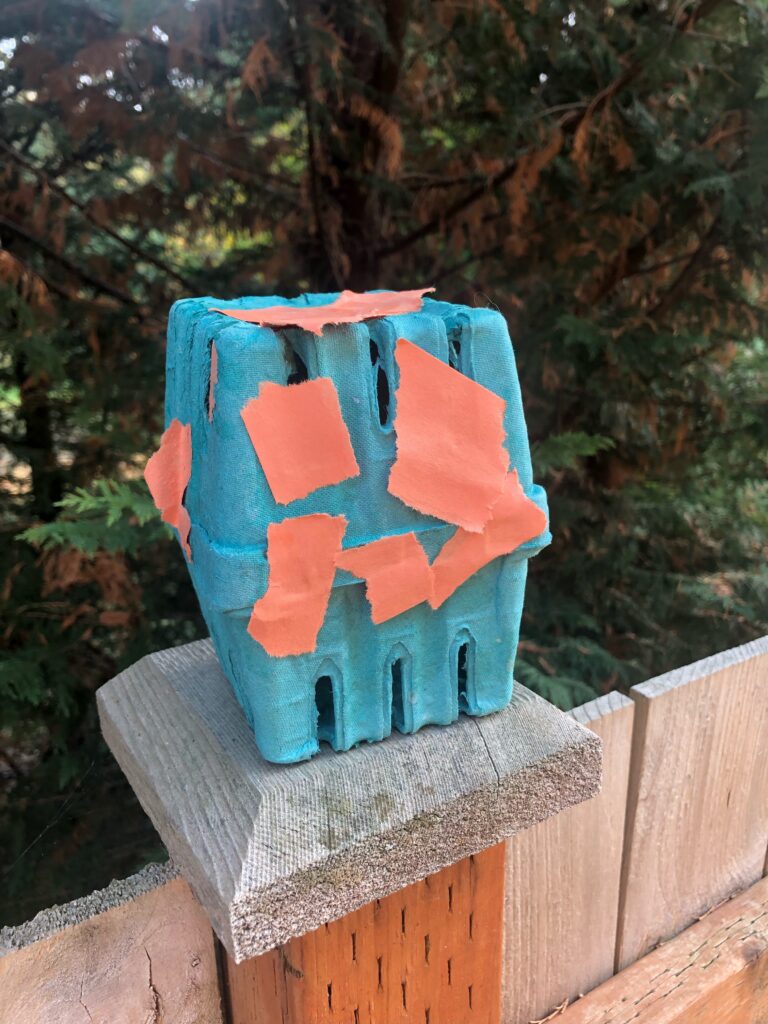
This is a craft we did a couple years ago and may be making more this year. Take two cardboard pint containers and glue together making a solid box. Paint, color or glue pieces of construction paper or color tissue paper to the box. Our boys enjoyed this immensely, but my vision of solid orange pumpkins did not pan out…and that is ok! Craft projects should be more about the experience for children. It is their vision that matters, not ours. They were very happy with and proud of their pumpkins with a handful of torn orange paper pieces glued on. You can add a stalk with some rolled up paper, or a popsicle stick stuck into a slit at the top.
Please leave comments below. I hope you enjoy these activities as much as our family did. Happy Halloween!